GPT Image 2.5 Guide: Generate and Edit Your First Image
Start with a clear prompt, choose an image model, refine a reference photo, and review your result. A practical GPT Image 2.5 workflow for beginners.
GPT Image 2.5 can be part of a straightforward image workflow: describe one result, generate a draft, and refine the parts that need work. This guide covers our browser workspace. It does not assume you have an API key or experience with a traditional photo editor.
Start with one deliverable
Open the AI image generator, sign in, and choose a model in the composer. The model selector offers GPT Image 2.5 Flare and GPT Image 2.5 Sunburst. Check the selection before sending: the workspace may remember the model you used previously.
Decide where the image will go before writing the prompt. A square marketplace image, a portrait social post, and a wide website header need different framing. Describe the subject, setting, lighting, and composition, then choose the aspect ratio available in the composer.
A prompt you can adapt
Create a square product photograph of a matte white ceramic mug on a light gray tabletop. Soft window light from the left, natural contact shadow, camera at table height. Keep the mug centered with clear space around the handle. No lettering, no extra objects.
Replace the subject and scene while keeping the structure. Specific constraints such as “one mug” and “no lettering” are easier to assess than a string of adjectives such as “stunning” or “perfect.” This is a suggested prompt, not a guarantee of a particular output.
For a poster, separate the visual direction from copy requirements:
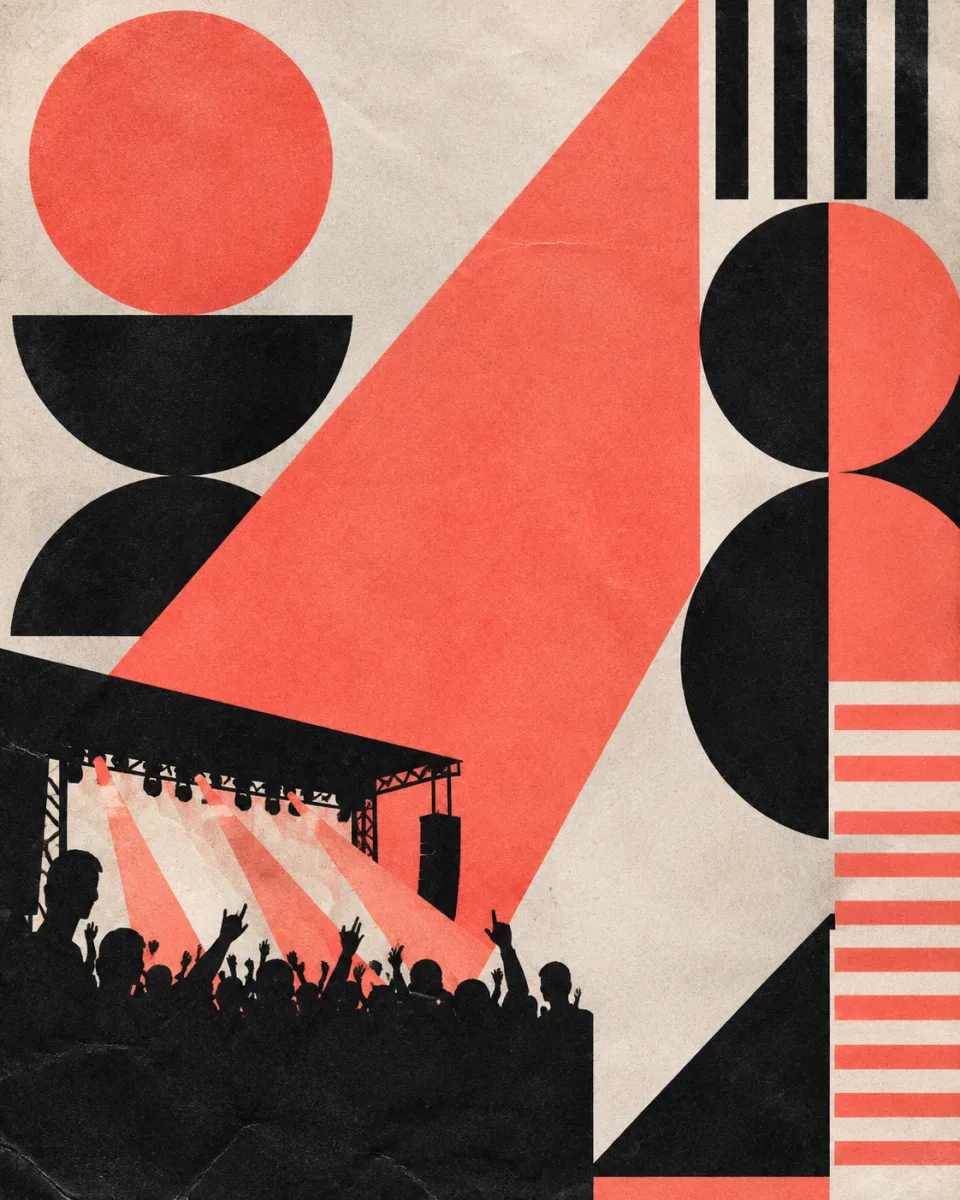
Design a vertical concert poster with geometric red and black shapes, a large clear area for the event name, and a small empty area at the bottom for venue details. Keep the composition readable at phone size.
When exact spelling is essential, review every character or add final typography with a dedicated design tool. The illustration used on this page is a sample creative direction, not a controlled model benchmark.
Edit without restarting the brief
Upload a reference photo and specify both the change and what must stay unchanged. For example: “Change only the background to a white studio backdrop. Preserve the mug's shape, handle, camera angle, and surface texture.”
Make one substantial change at a time. Review the complete image after each edit, including areas you did not ask to change. For a repeatable method, see our prompt-based image editing guide.
Review before another generation
Check subject accuracy, unwanted extra objects, text, edge detail, shadows, and framing at full size. Keep the useful draft in your library and download the approved version. Regeneration and editing use credits; a saved image can be viewed or downloaded without another AI call.
The number of images you can create depends on generation settings, reference inputs, and actual usage. Review plans and credits instead of assuming a fixed number of images per subscription.
Which model should you choose?
Read the Sunburst, Flare, and GPT Image 2 comparison before a larger project. If you want to build generation into another application, use the API integration checklist. For access questions, see free access and limits.