GPT Image 2.5 Sunburst vs Flare vs GPT Image 2
Compare model positioning, editing workflows, and evaluation criteria for GPT Image 2.5 Sunburst, Flare, and GPT Image 2 before choosing a model.
The useful question in a GPT Image 2.5 Sunburst vs Flare comparison is whether the output meets your brief at an acceptable cost and wait time. A model name alone does not tell you how many revisions a particular image will need.
Flare and Sunburst: the documented distinction
OpenAI positions Flare for general image workflows and Sunburst for more demanding precision work with longer generation times. This is the provider's positioning, not a performance result measured on this website. See the official Images 2.5 announcement.
In our model selector the choices are GPT Image 2.5 Flare and GPT Image 2.5 Sunburst; GPT Image 2 is the earlier model and is not offered here, so the three-way comparison below is about the models themselves rather than about our picker. Choose the model before sending. Existing conversations can retain a previous selection.
How to choose for your task
For a first draft, social image, or exploratory composition, start with the model you can evaluate most quickly. A simple image may already satisfy the brief without an additional premium pass.
For a product photograph with exact packaging, repeat edits to the same subject, or a tightly specified layout, test a more detailed brief. Assess whether the model preserves the important features after the edit, not just whether the new background looks attractive.
Do not assume Sunburst always produces the best result or that Flare always costs less. Output size, quality, image inputs, and retries can change the final cost. The workspace records the model on generated images and provides credit history for reviewing spending.
GPT Image 2.5 vs GPT Image 2: a fair test
Use GPT Image 2 as a baseline if you already have prompts that work well with it. Run the same brief on the model you are considering, keeping source images, output dimensions, and quality comparable.
Use a small test set with different failure risks:
- A simple object on a plain background: count objects and inspect geometry.
- A product-photo edit: check the label, silhouette, surface finish, and shadow.
- A poster: read every character and inspect text placement.
- A second edit to a previous result: look for unintended changes outside the requested area.
Record the model, prompt, settings, elapsed time, credits consumed, and whether you would actually use the result. Count discarded images and follow-up edits in the cost of an accepted image. Repeat a task before drawing conclusions from one unusually good or bad sample.
What this comparison does not claim
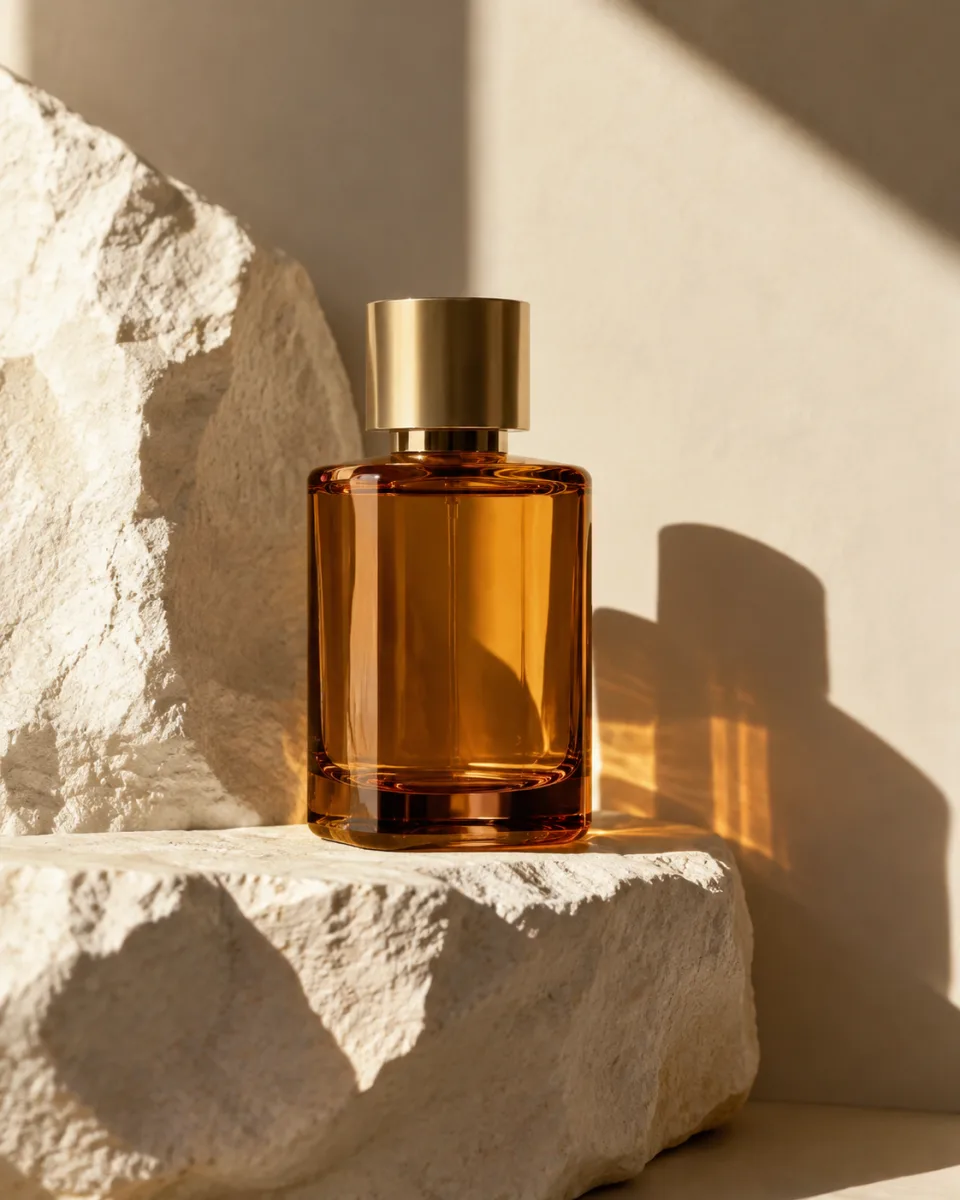
We have not published a controlled head-to-head benchmark for these three models. The cover image is illustrative and does not establish a winner. Provider API performance and performance through our full workspace are also different measurements.
Before committing a large batch, generate a representative sample in the AI image generator. The prompt guide helps make the test repeatable; the product-photo guide covers preservation requirements in more detail.