AI Product Photo Prompts: A Practical Guide
Write more reliable AI product photography prompts by defining the product, composition, lighting, background, and delivery format.
 Image 2.5 Team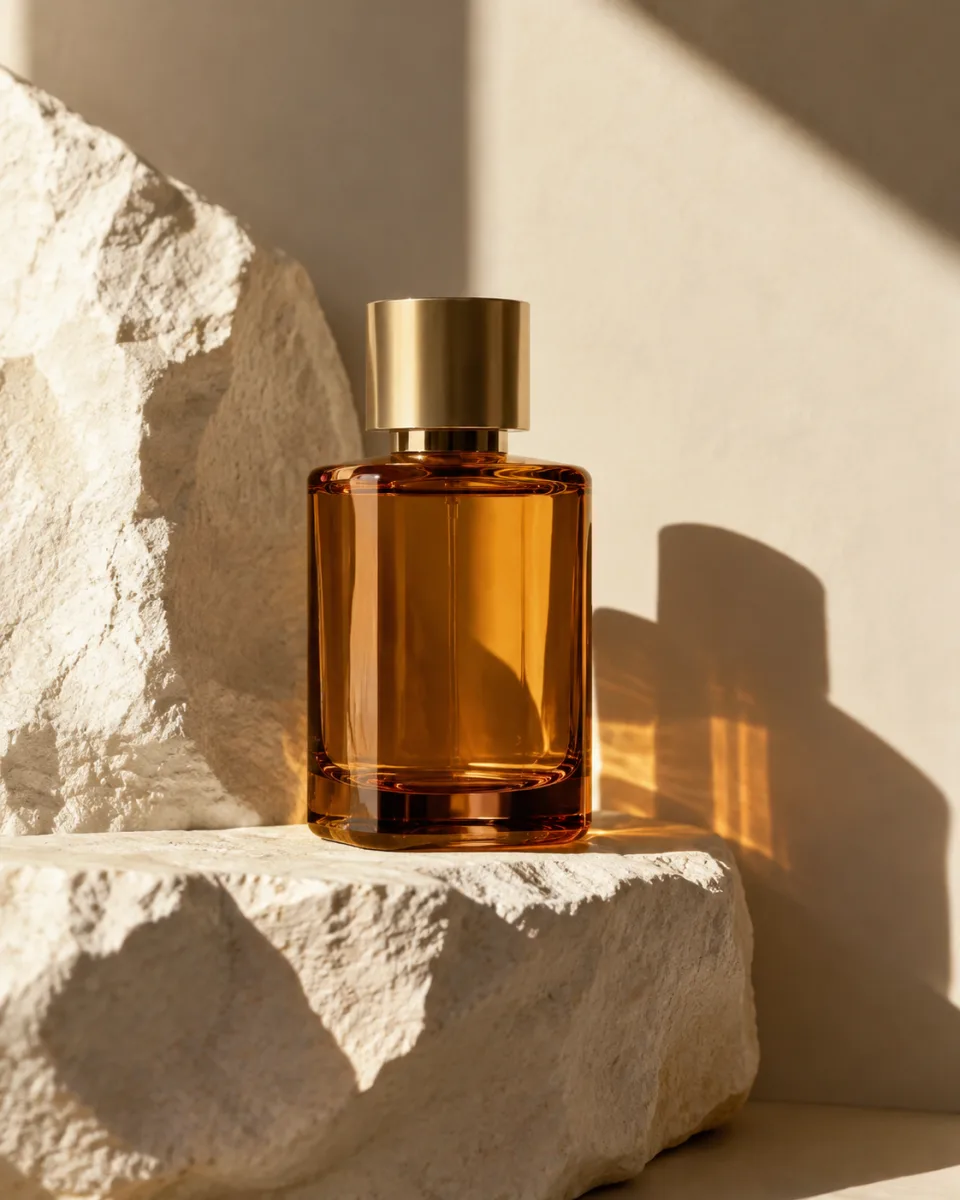
A useful product image prompt behaves like a compact photography brief. It identifies the subject, controls the composition, explains the light, and states where the finished image will be used.
Define the product before the style
Start with concrete product traits: category, material, color, shape, finish, and packaging. If you are editing an uploaded product photo, state that its geometry, label, logo, and printed text must remain unchanged.
Then add the scene. For example:
A matte white skincare bottle with a pale green label, centered on a light gray seamless backdrop. Soft window light from the left, a short natural shadow, eye-level camera, clean ecommerce photography, square crop.
Control five variables
- Composition: centered, rule of thirds, close-up, overhead, or room for copy.
- Camera: eye-level, 45-degree angle, macro detail, or wide environmental view.
- Lighting: softbox, window light, hard noon sun, rim light, or diffused studio light.
- Surface and background: seamless paper, stone, brushed metal, fabric, or a real room.
- Output: square marketplace image, vertical story, landscape hero, or editorial crop.
These choices are more reliable than stacking broad style words such as “premium, cinematic, beautiful.”
Keep text and branding under review
Generated typography can be inconsistent. When accurate packaging text matters, use a clear reference image and inspect the full-size result. Preserve a clean area for later typesetting when exact copy is essential.
Build a consistent set
For a product series, keep the camera, backdrop, lighting direction, and shadow style fixed. Change only the product variant or viewing angle in each prompt. This makes the set feel planned and reduces the number of revisions needed to align images afterward.
Start with one representative product before processing the whole catalog. Once its visual recipe works, reuse the same prompt structure and change only the necessary attributes.
Create a first image in the workspace, then compare credit plans for a larger catalog.